Pianta 1
Pianta 1 is a shine where you need to pull the tails of 3 Chomps, shooting them into a body of water to cool them off.
This level has a version difference
- You cannot put the chomplets out with your hover nozzle immediately on NTSC-U/PAL.
Normal 1st(A) Chomp Pattern
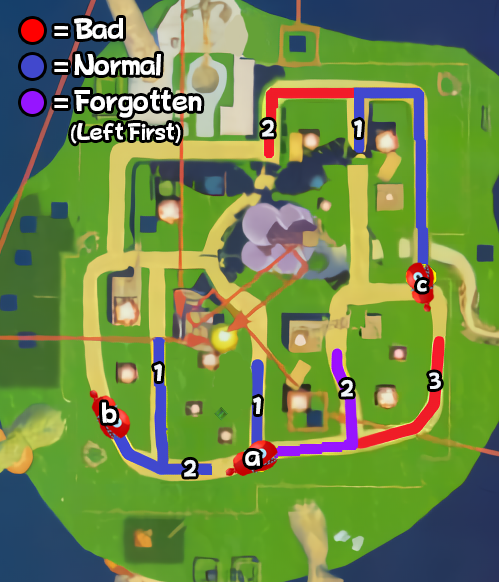
These are typical RTA strats for when the A Chomp goes down the blue Normal path, and varies mainly on what Chomp C does.
Normal 3rd(C) Chomp
Wait at Wall
Beginner and NTSC-U/PAL Friendly, use spam sprays instead of hover
Bait Chomp
Beginner and NTSC-U/PAL Friendly, use spam sprays instead of hover
Slide Past
Advanced
Forgotten Strat (1st is now B, 2nd is now A)
A strat lost to time and rediscovered to be faster, you go left first and trigger Chomp B first instead of Chomp A, if you see Chomp A go down the purple/red “Forgotten” path.
All of these are Advanced
Forgotten - Click to Expand
Good 2nd(A), Good 3rd(C).
Bad 2nd(A), Good 3rd(C).
Good 2nd(A), Bad 3rd(C). Early
If you are early, you can bait the chomp back, Otherwise, do typical RTA strat or Down Bad
Down Bad - Click to Expand
Bad 3rd, aggro bank shot (Down Bad).
Down Bad: How to play the bad 3rd chomp
by spilledbeanseverywhere
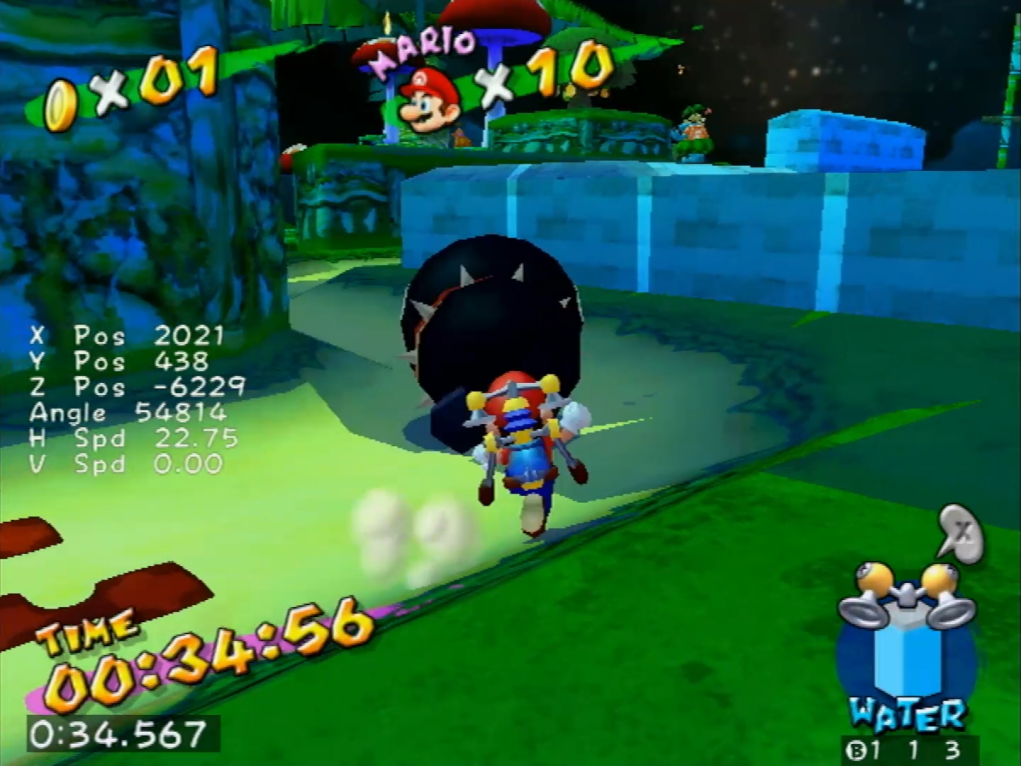
Approaching the 3rd Chomp
You may have seen several players traverse over the wall to make it to the 3rd chomp. Traversing over the wall is kinda pointless.
If you do speed double and continue down the middle path, notice that the chomp is not there. You simply continue up the path, go left, and extinguish the chomp from behind. There is plenty of time to get to the chomp, and you don’t need to traverse over the wall.
If you at any moment during the level fear that you have made too costly timelosses due to movement error or handling of the 1st and 2nd chomp, you should not attempt doing “down bad”, because you’re probably going to be too late to the chomp anyway.
Last but not least, always taking the middle path means there is no demand to react fast enough to change direction and head over the wall.
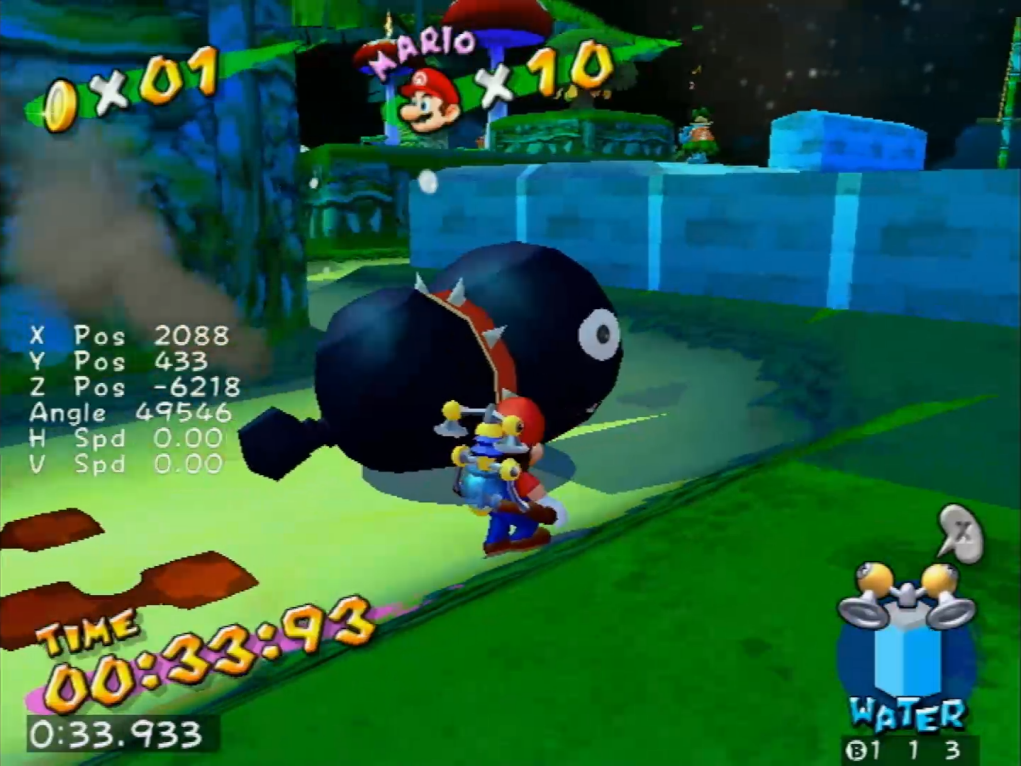
Grabbing the Chomp
Let the chomp turn before grabbing it. The first time it turns, it will travel in a strict direction for 1.3 seconds before it turns a bit more. You need to grab the chomp after it has turned the first time and it’s moving in this straight line, because it will set you up for a successful launch. Again, it moves in this line for 1.3 seconds, so there is plenty of time to make this window.
Aiming the Chomp
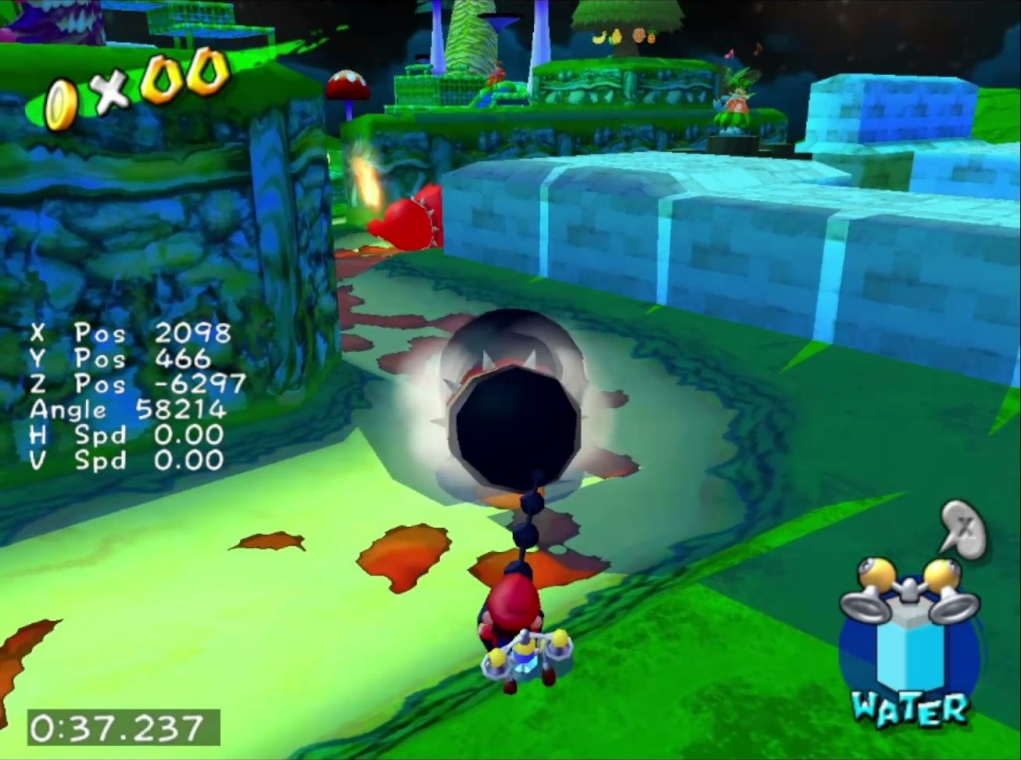
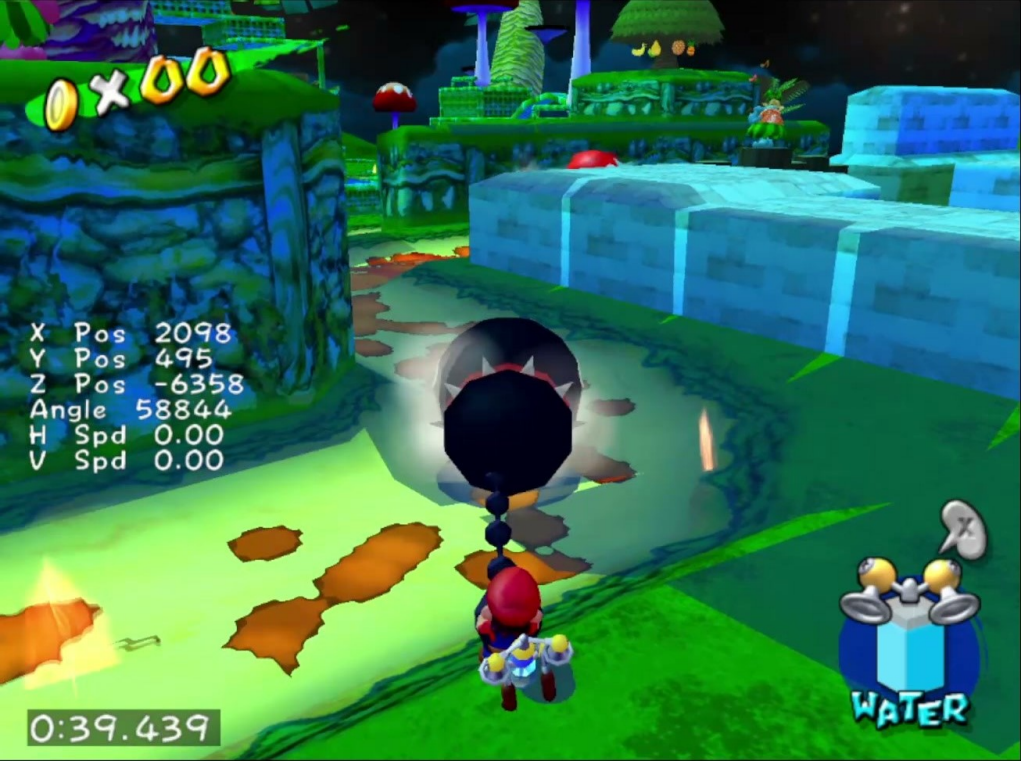
Given that you have grabbed the chomp correctly, you can accurately launch the chomp into the hot spring by aiming at this part of the wall:
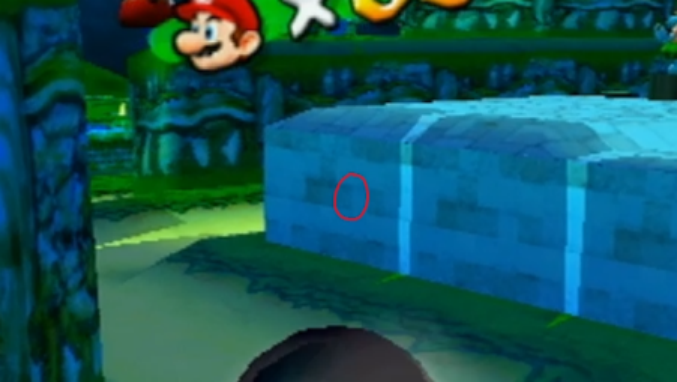
Notice the “T-tetromino” shape on the wall. Aim at the rightmost part of that shape. As long as the chomp has been grabbed correctly, there is a wide span of angle values that allow for a successful launch. The visual cue provided aims to help you land somewhere in between the span of good values. The lowest angle value I got to work was 58214, highest being 58884. This gives 671 good values, and there is likely even more leniency.