Pinna 7
( guide by Dex513 )
Like the other episode seven shines, Pinna 7 features a Shadow Mario (SM) chase sequence. The most useful technique to know for this shine is spam spraying. Every other SM has 100 health, but the one in this level has 150. So, be prepared to spray a little more than usual. Most players use the beginner strat as it is highly consistent due to having lenient timing and losing less than a second to the advanced strat.
Entrance
Click for Details
Entering the park is the same as Pinna 1, 3, 7, and 8.
One Slide
-Tap jump, then dive.
-Instead of performing a rollout, bellyhop (press B) directly after which leads into a waterslide.
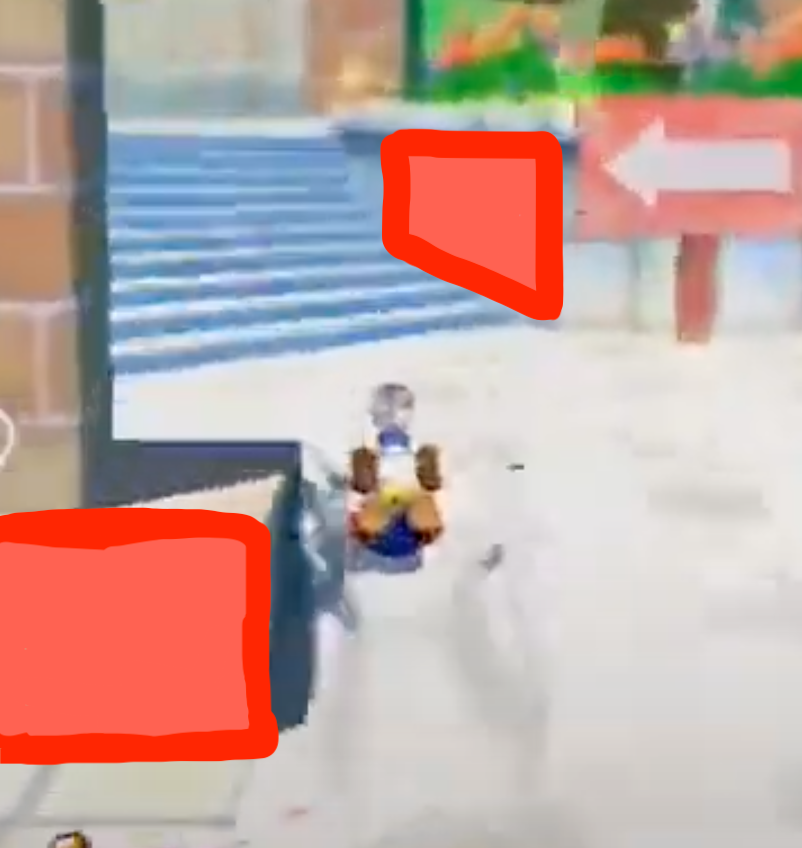
To get through the entrance with a single slide requires some maneuvering between obstacles. The image above highlights two main points to avoid bonking off. The easiest way to do this is by first leaving a bit of space between Mario and the wall. After sliding past the forward-facing section of the wall, you can then hold the control stick forward and in toward the wall. Once Mario is sliding against the side you should be able to slide through freely without bonking. Notice that holding in towards the walls also help to avoid bonking on the further ahead wall and noki at the entrance.
Beginner
Notice that there is no intro cutscene to mash through when loading into the park. This means you can start moving Mario during the fade in.
Left Side
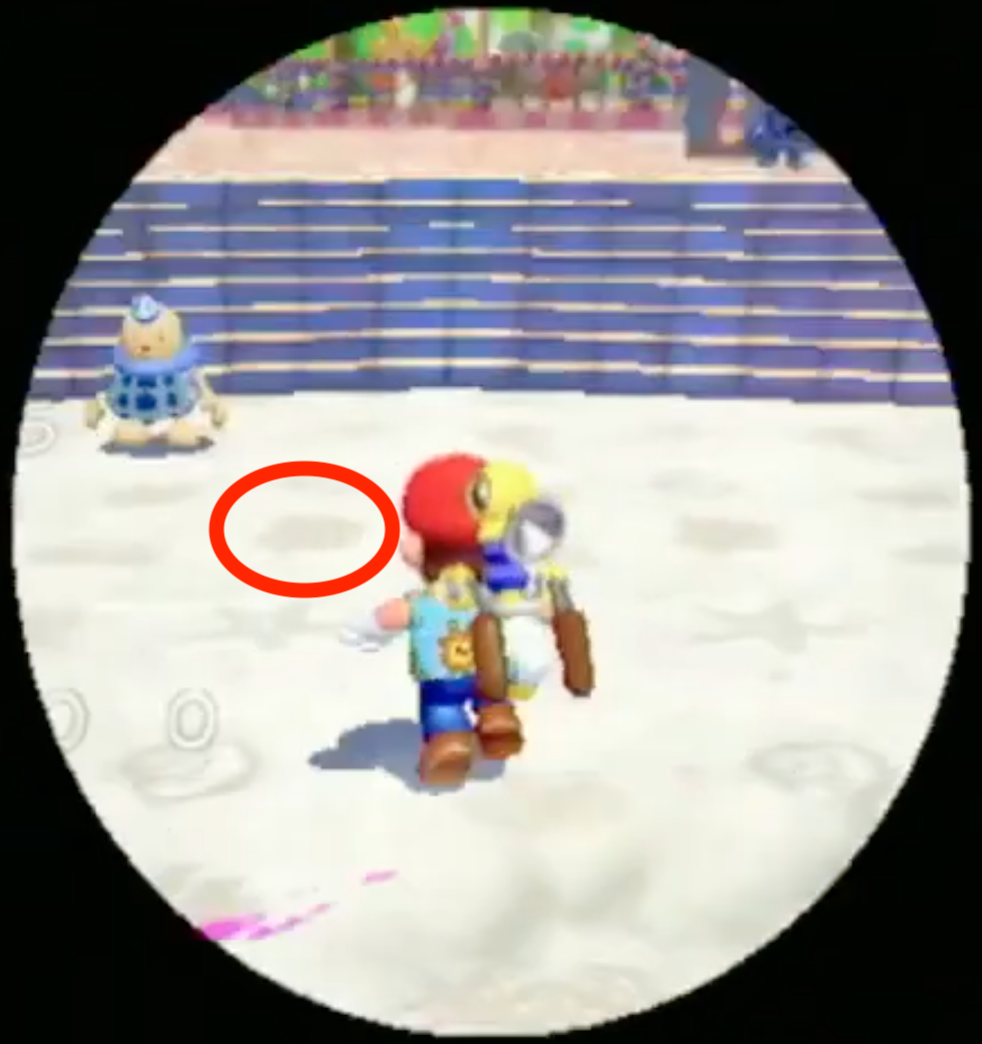
-Walk Mario forward to the spot shape on the ground.
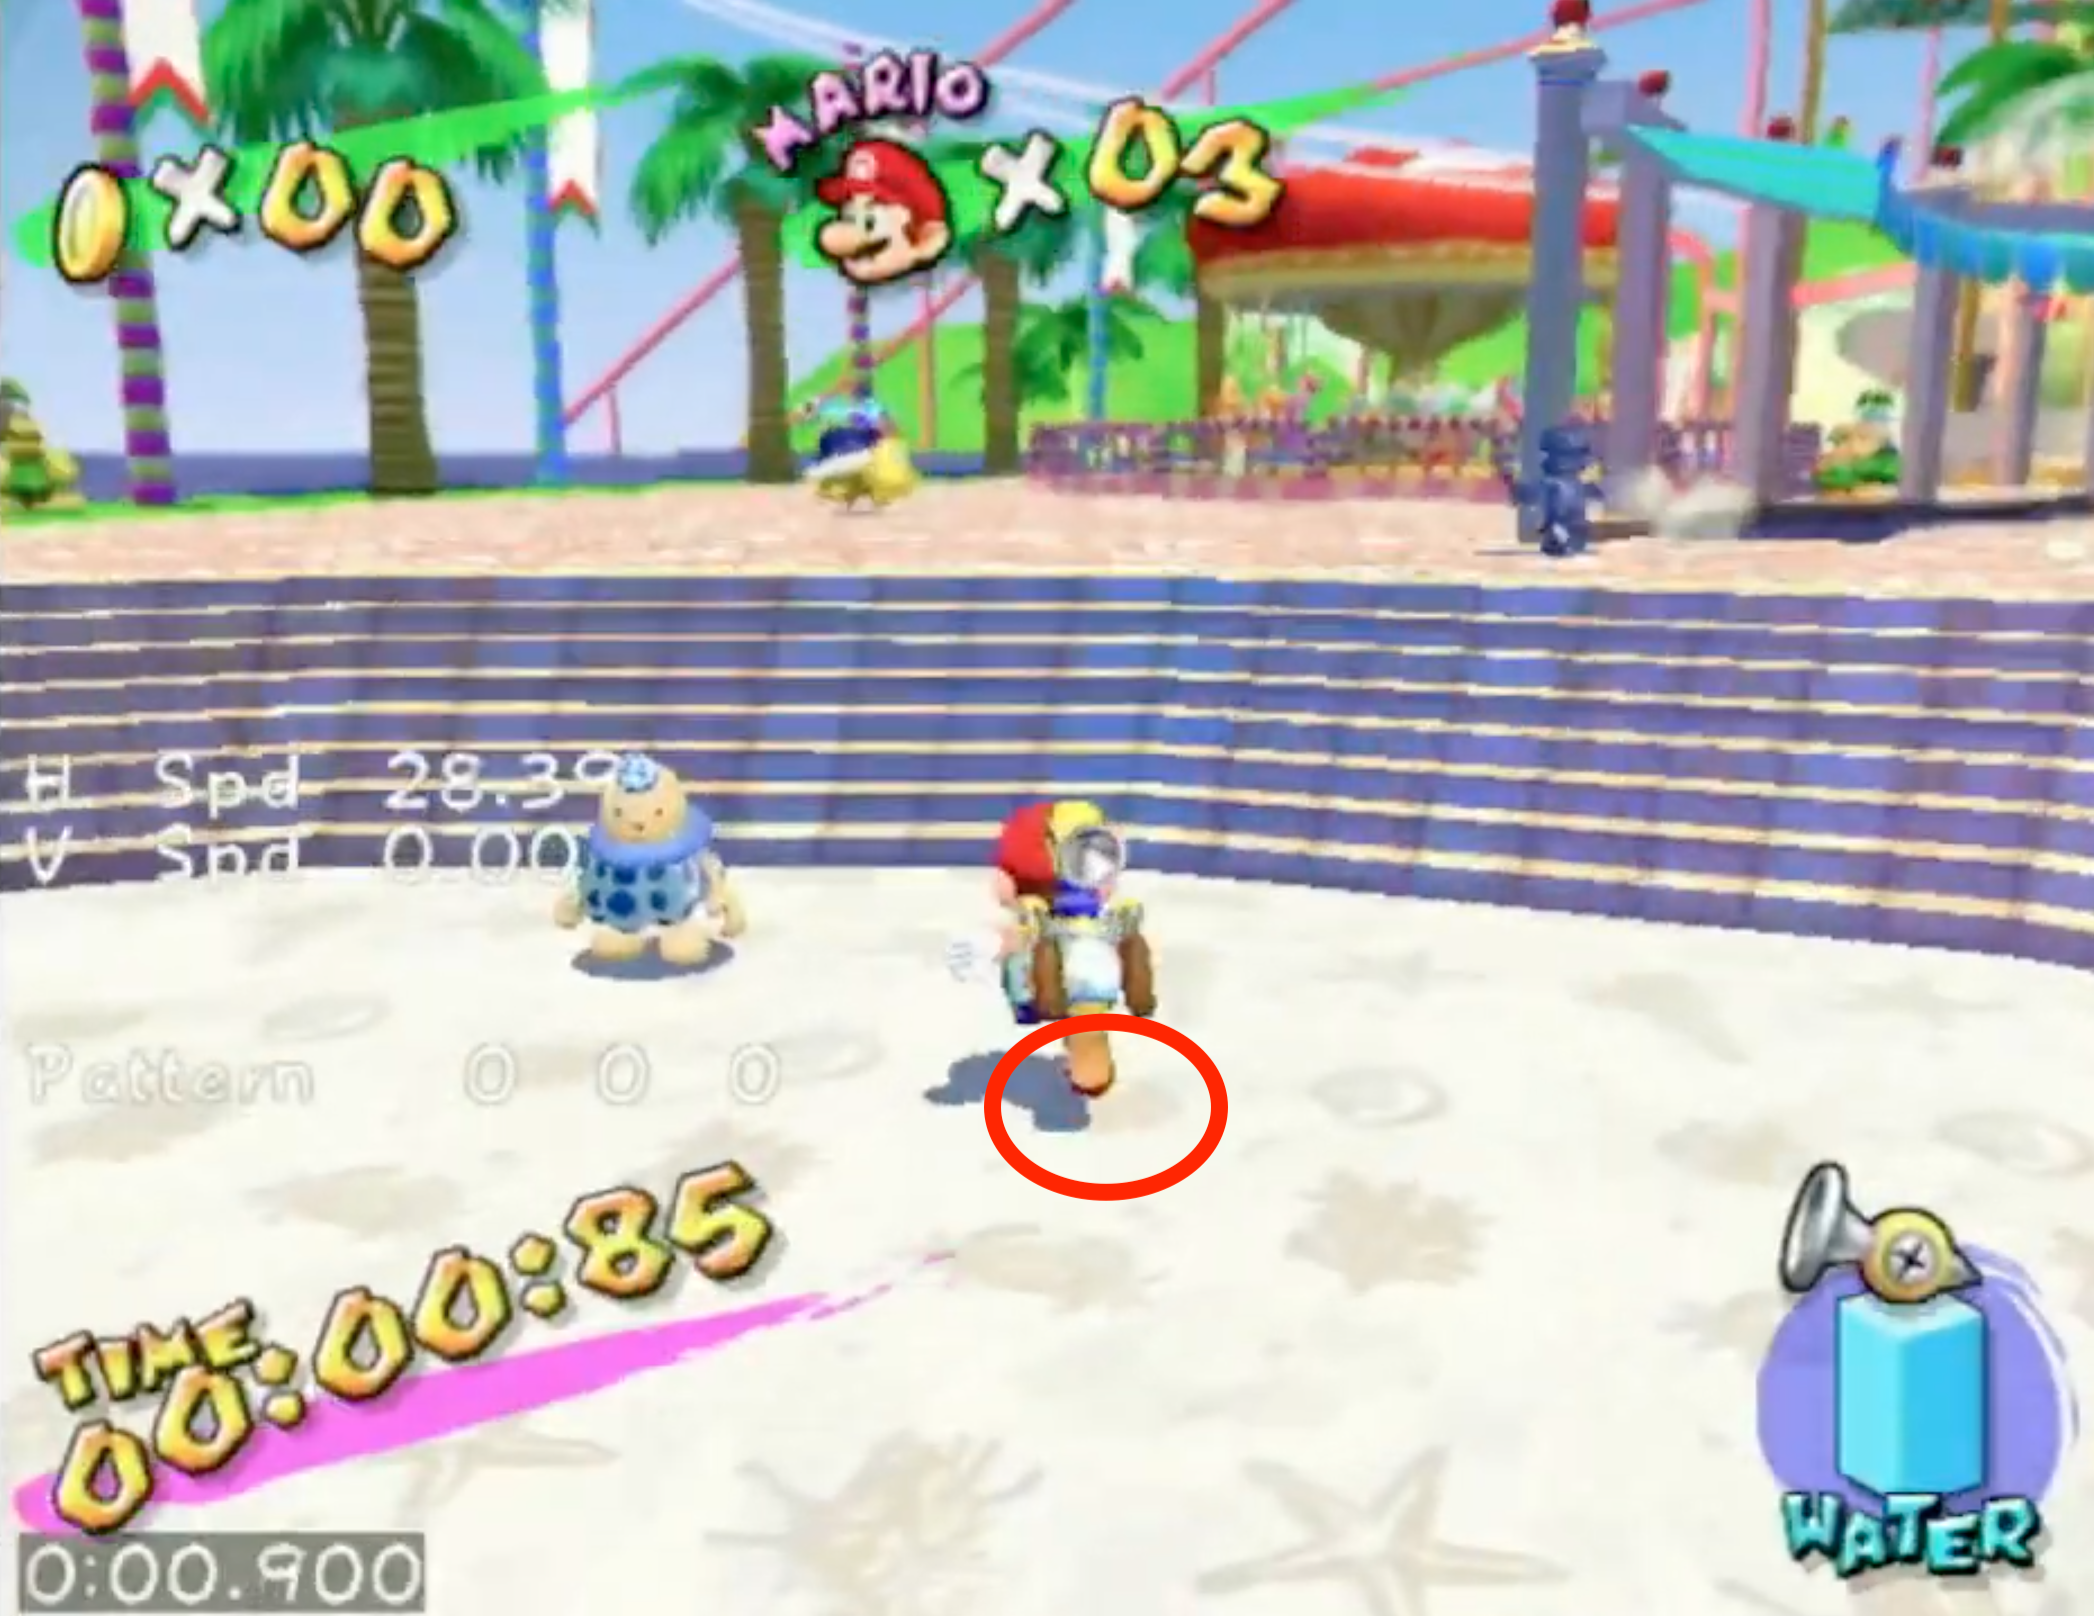
-Once you reach this point, jump dive and rollout (make sure to jump dive over the stairs, as rolling out on them often results in bonking or instantly standing up, which loses a lot of speed).
-The timeframe to move the camera is lax and can be completed anytime from directly before jump diving until finishing the rollout.
-The camera angle required for this is to center it directly between the Electro-Koopa and railing of the Yoshi-Go-Round.
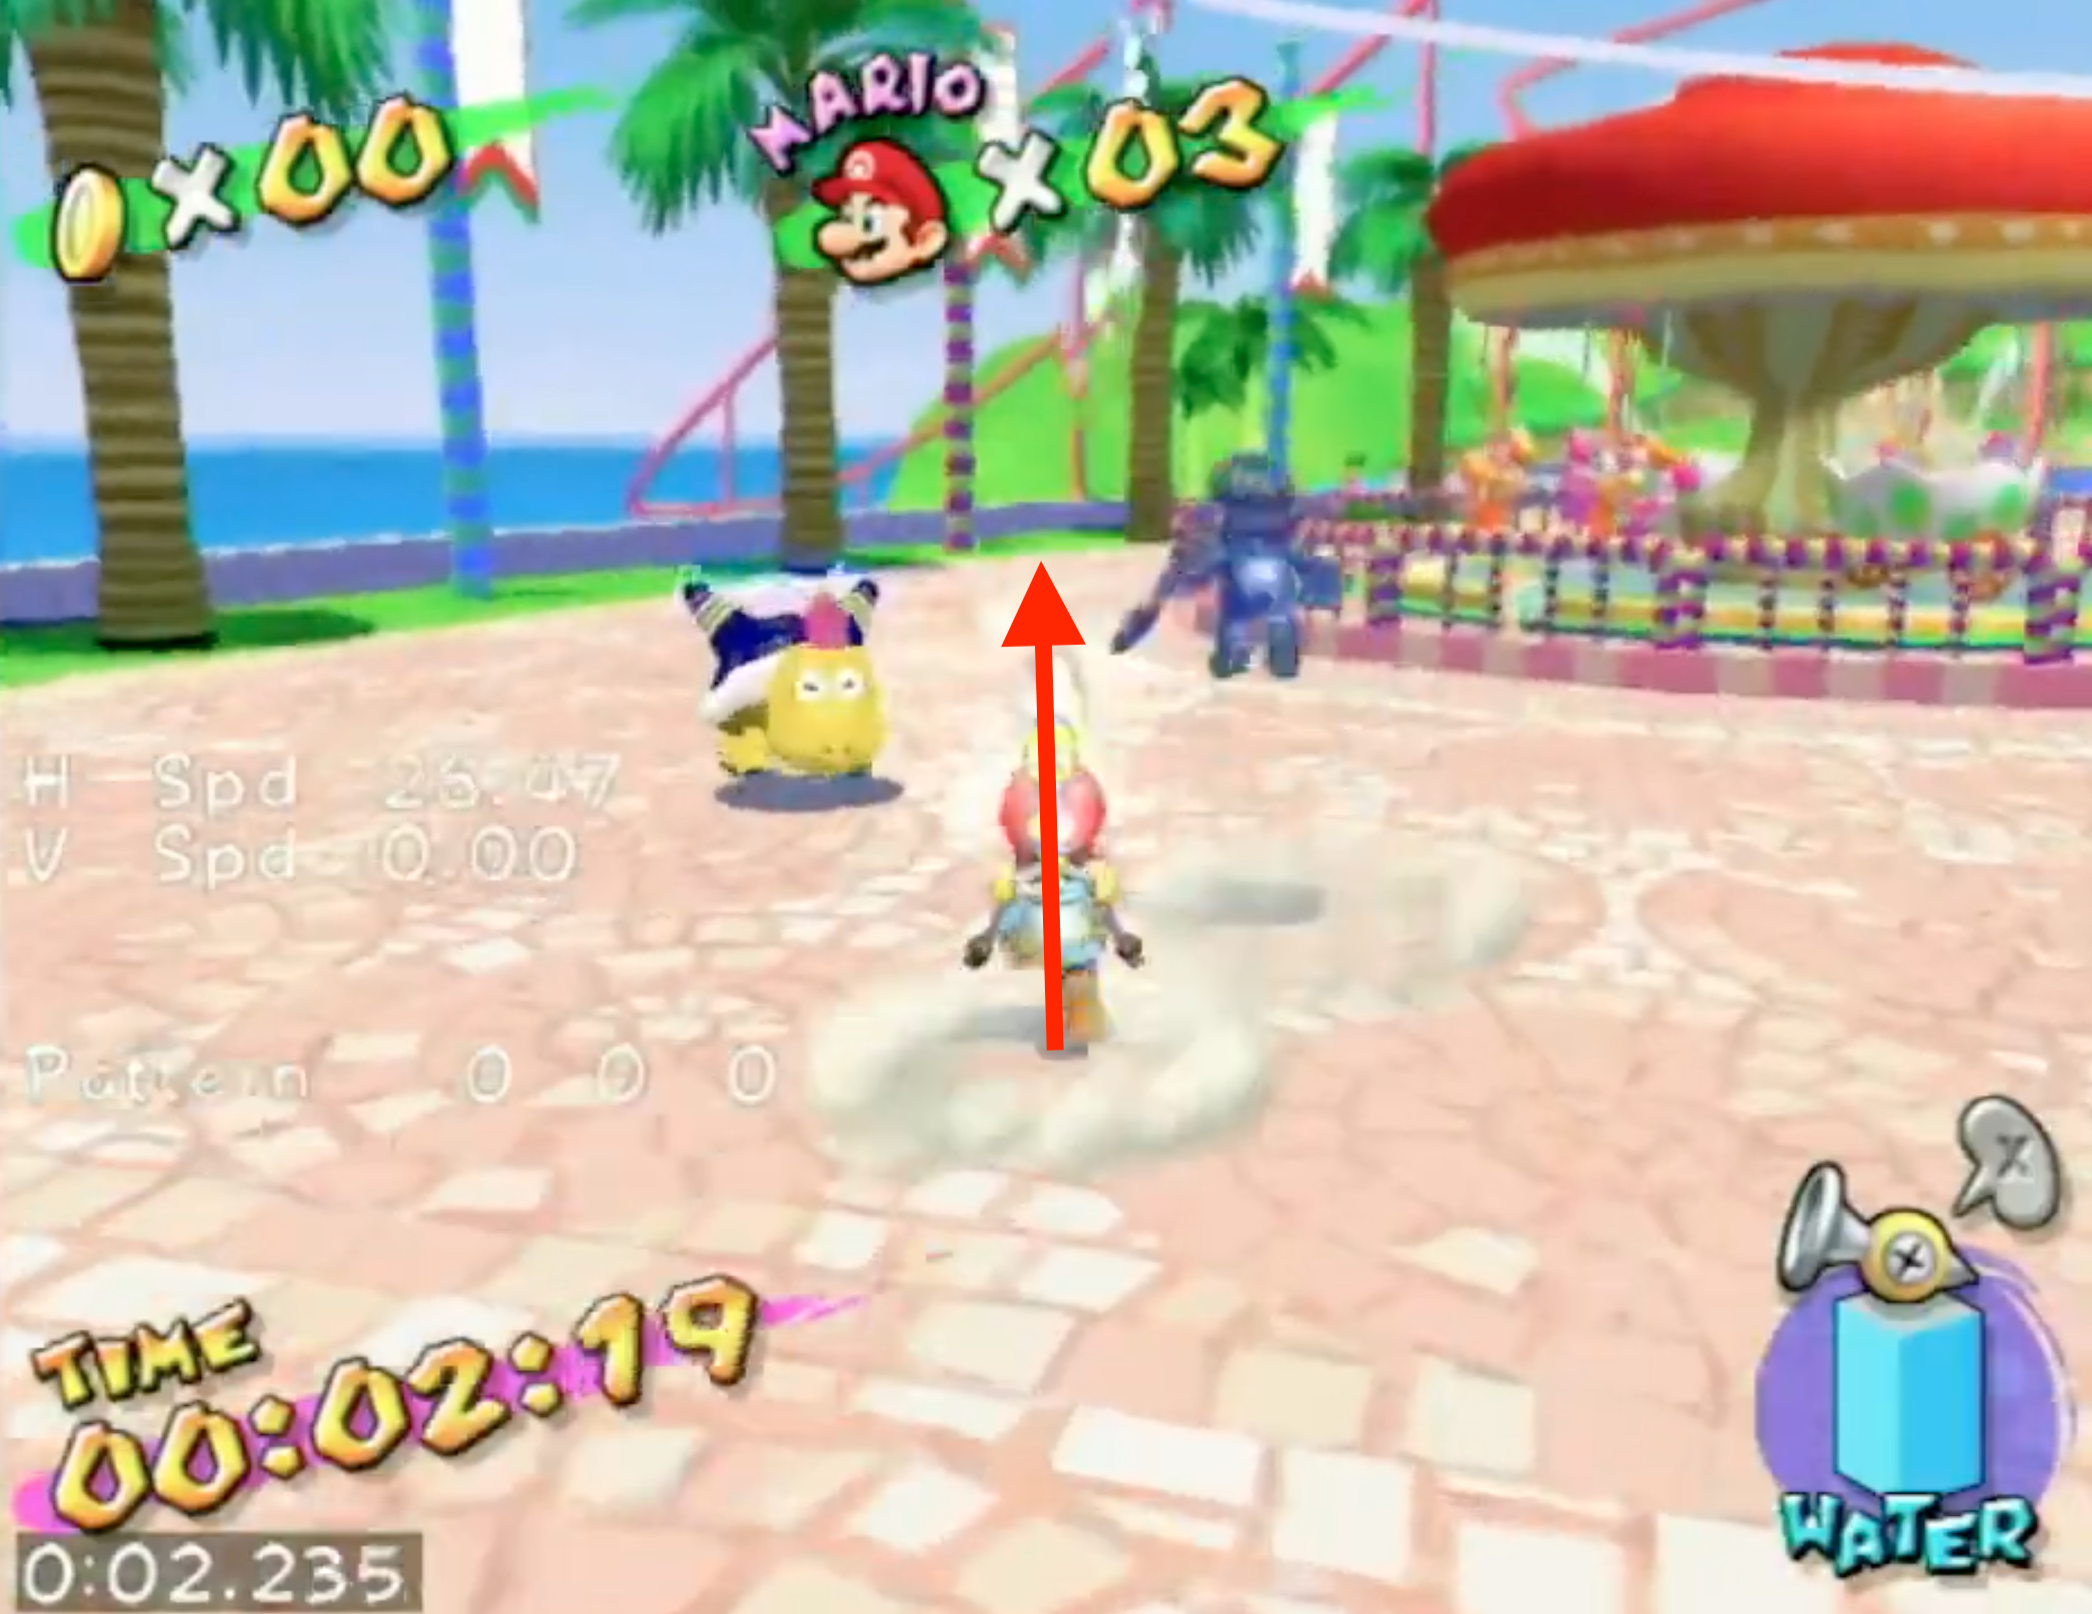
-After the rollout, continue walking directly behind SM.
-You should not need to change the camera much after this and can walk mostly in this straight line.
-It is easiest to spam spray SM when they are in the air double jumping.
-It will likely take two or three well timed spam sprays to deplete SM’s health due the 50 extra points.
-After SM completes the triple jump, they will be able to be downed.
-Even if all of SM’s health is gone, you still need to wait to spray them on the ground for them to be defeated.
-If SM’s health is not at 0 yet, continue to walk behind them in the same straight line shown above.
-Talk to SM and the shine will spawn.
-The Electro-Koopas will likely try to pester you while the shine is still spawning, and there are two ways to deal with them:
- Stand where the shine will spawn and move the camera such that both Electro-Koopas are off screen.
- Stand where the shine will spawn and enter Y-Camera mode. Spray the Electro-Koopas to prevent them from attacking you.
Advanced
While the beginner strat is significantly easier, right side saves approximately .8 seconds and much more if you collect the M graffiti, clam, or cage blue coins while the shine is spawning (only for blue coin related categories).
Right Side
-To begin this strat, have Mario walk to this shape on the ground.
-Once you reach this point you can face directly toward SM and hoverslide on that path.
-SM will jump at the first pole of the awning and land near the third.
-Spam spray rollout SM after they land.
-Although the spam spray here is helpful, you are not required to hit it, as all SM’s health can be taken in their next jump.
-Make sure that when you land after the rollout, SM is between Mario and the Electro-Koopa. This allows SM to be used as a shield from the Electro-Koopa’s attack.
-After landing, SM will jump again from the fourth pole to the sixth.
-Follow SM by walking and jumping into spam srays.
-Note there will likely be a lot of lag during this portion. You can reduce this by making sure the camera is zoomed all the way in and facing toward the pool (where there are the least moving objects on screen).
-Once SM’s health is at 0, you will be able to down them at the sixth pole.
If SM still has more health, the best backups would be to:
- Continue walking behind SM and spraying until they can be downed under the awning next to the large pink pole.
- Go to below the tree by the ramp up to the ship ride. Wait for SM to jump up to under the tree and spam spray then.
-Once again, enter Y-Camera and spray the Electro-Koopas to prevent them from attacking you.